-
CORE SERVICES
Enterprise Data Extraction
Scalable web, app & AI-powered extraction. 99.9% accuracy.
All Services →99.9%Accuracy75+PlatformsWeb Scraping Services Enterprise Web Crawling Web Scraping API AI-Powered Scraping HOT Live Crawler Custom Data Extraction AI Training Data NEW App Scraping (Android & iOS) Core Scraping Services
Amazon Data Scraping #1 Walmart Data Scraping Shopify Store Scraping HOT TikTok Shop Scraping HOT Flipkart Data Scraping
Core Scraping Services
Amazon Data Scraping #1 Walmart Data Scraping Shopify Store Scraping HOT TikTok Shop Scraping HOT Flipkart Data Scraping Top Global Platforms
 Platforms by Region
🇺🇸 USA🇬🇧🇪🇺 UK/EU🇮🇳 India🇦🇪 ME🌏 SEA🌎 LATAM🇨🇳🇯🇵🇰🇷🇦🇺 AUAmazon Data Scraping #1 Walmart Data Scraping Target Data Scraping NEW Shopify Scraping HOT TikTok Shop Scraping HOT Costco Data Scraping NEW Best Buy Scraping NEW Home Depot Scraping NEW Etsy Data Scraping NEW Shein Data Scraping NEW DoorDash Scraping NEW Instacart Scraping NEWTesco Data Scraping NEW Sainsbury's Scraping NEW ASDA Data Scraping NEW Ocado Scraping NEW ASOS Data Scraping NEW Rightmove Scraping NEW Deliveroo Scraping NEW Zalando Scraping NEW Otto Scraping NEW Cdiscount Scraping NEW Carrefour Scraping NEW Allegro Scraping NEW Bol.com Scraping NEWFlipkart Data Scraping JioMart Data Scraping NEW BigBasket Scraping NEW Myntra Data Scraping NEW Nykaa Data Scraping NEW Blinkit Data Scraping Zepto Data Scraping Zomato Data Scraping Swiggy Data ScrapingNoon Data Scraping NEW Amazon.ae Scraping NEW Talabat Data Scraping NEW Careem Data Scraping NEW PropertyFinder Scraping NEW
Platforms by Region
🇺🇸 USA🇬🇧🇪🇺 UK/EU🇮🇳 India🇦🇪 ME🌏 SEA🌎 LATAM🇨🇳🇯🇵🇰🇷🇦🇺 AUAmazon Data Scraping #1 Walmart Data Scraping Target Data Scraping NEW Shopify Scraping HOT TikTok Shop Scraping HOT Costco Data Scraping NEW Best Buy Scraping NEW Home Depot Scraping NEW Etsy Data Scraping NEW Shein Data Scraping NEW DoorDash Scraping NEW Instacart Scraping NEWTesco Data Scraping NEW Sainsbury's Scraping NEW ASDA Data Scraping NEW Ocado Scraping NEW ASOS Data Scraping NEW Rightmove Scraping NEW Deliveroo Scraping NEW Zalando Scraping NEW Otto Scraping NEW Cdiscount Scraping NEW Carrefour Scraping NEW Allegro Scraping NEW Bol.com Scraping NEWFlipkart Data Scraping JioMart Data Scraping NEW BigBasket Scraping NEW Myntra Data Scraping NEW Nykaa Data Scraping NEW Blinkit Data Scraping Zepto Data Scraping Zomato Data Scraping Swiggy Data ScrapingNoon Data Scraping NEW Amazon.ae Scraping NEW Talabat Data Scraping NEW Careem Data Scraping NEW PropertyFinder Scraping NEW🇦🇪 Expanding across UAE, Saudi, Qatar, Kuwait & more
Request Custom Platform →Shopee Data Scraping NEW Lazada Data Scraping NEW Tokopedia Scraping NEW Grab Data Scraping NEW Traveloka Scraping NEW🌏 Singapore, Indonesia, Thailand, Philippines, Vietnam & Malaysia
Request Custom Platform →Mercado Libre Scraping NEW iFood Data Scraping NEW Rappi Data Scraping NEW🌎 Brazil, Mexico, Argentina, Colombia & Chile
Request Custom Platform → -
27Solutions5CategoriesPrice Monitoring AI Dynamic Pricing HOT Product Matching Smart Repricer Promo Tracking Cross-Border Pricing NEW Multi-Currency NEW
 Pricing & Promotions
MAP Violations Brand Protection Counterfeit Detection Price Intelligence AI HOT Data Intelligence
Pricing & Promotions
MAP Violations Brand Protection Counterfeit Detection Price Intelligence AI HOT Data Intelligence Brand & Intelligence
Share of Search Content Audit & PDP Reviews & Ratings Retail Media Buy Box Monitoring Social Commerce HOT Live Commerce NEW Agentic Commerce NEW
Brand & Intelligence
Share of Search Content Audit & PDP Reviews & Ratings Retail Media Buy Box Monitoring Social Commerce HOT Live Commerce NEW Agentic Commerce NEW Digital Shelf & Search
Assortment Planning Competitive Benchmarking Product Availability Seller Intelligence NEW Q-Commerce NEW
Digital Shelf & Search
Assortment Planning Competitive Benchmarking Product Availability Seller Intelligence NEW Q-Commerce NEW AssortmentE-commerce Intelligence Hyperlocal Insights POI & Store Locator DTC Brand Analytics NEW
 For Retailers
Which solution fits?
Talk to Expert -
NEW 2026
GCC Quick Commerce
Talabat · Careem Quik · Noon Minutes — live pricing across Dubai, Riyadh, Abu Dhabi & Jeddah. 18 GCC cities.
Launch Demo →HOTKitchenIntel
Cloud kitchen market gaps, ghost-kitchen tracking & strategy simulator. Plans from ₹9,999/mo.
See Pricing →UK Grocery Price Tracker
Tesco · Sainsbury's · Asda · Morrisons · Aldi — daily price comparison across all major UK grocers.
Get Early Access →11+Dashboards99.9%Accuracy🏢 By Industry E-Commerce Dashboard
 Flipkart Insights (Live) #1
 Grocery Intelligence
.svg) Grocery Price (U.S.)
Grocery Price (U.S.)
.svg) Quick Commerce (India) HOT
Quick Commerce (India) HOT
 Food & Restaurant
 Fashion Intelligence
 Automotive
 Travel & Hospitality
 Real Estate
 Food Delivery Intelligence NEW
 OTT & Streaming NEW
 By Use Case
 Pricing Intelligence
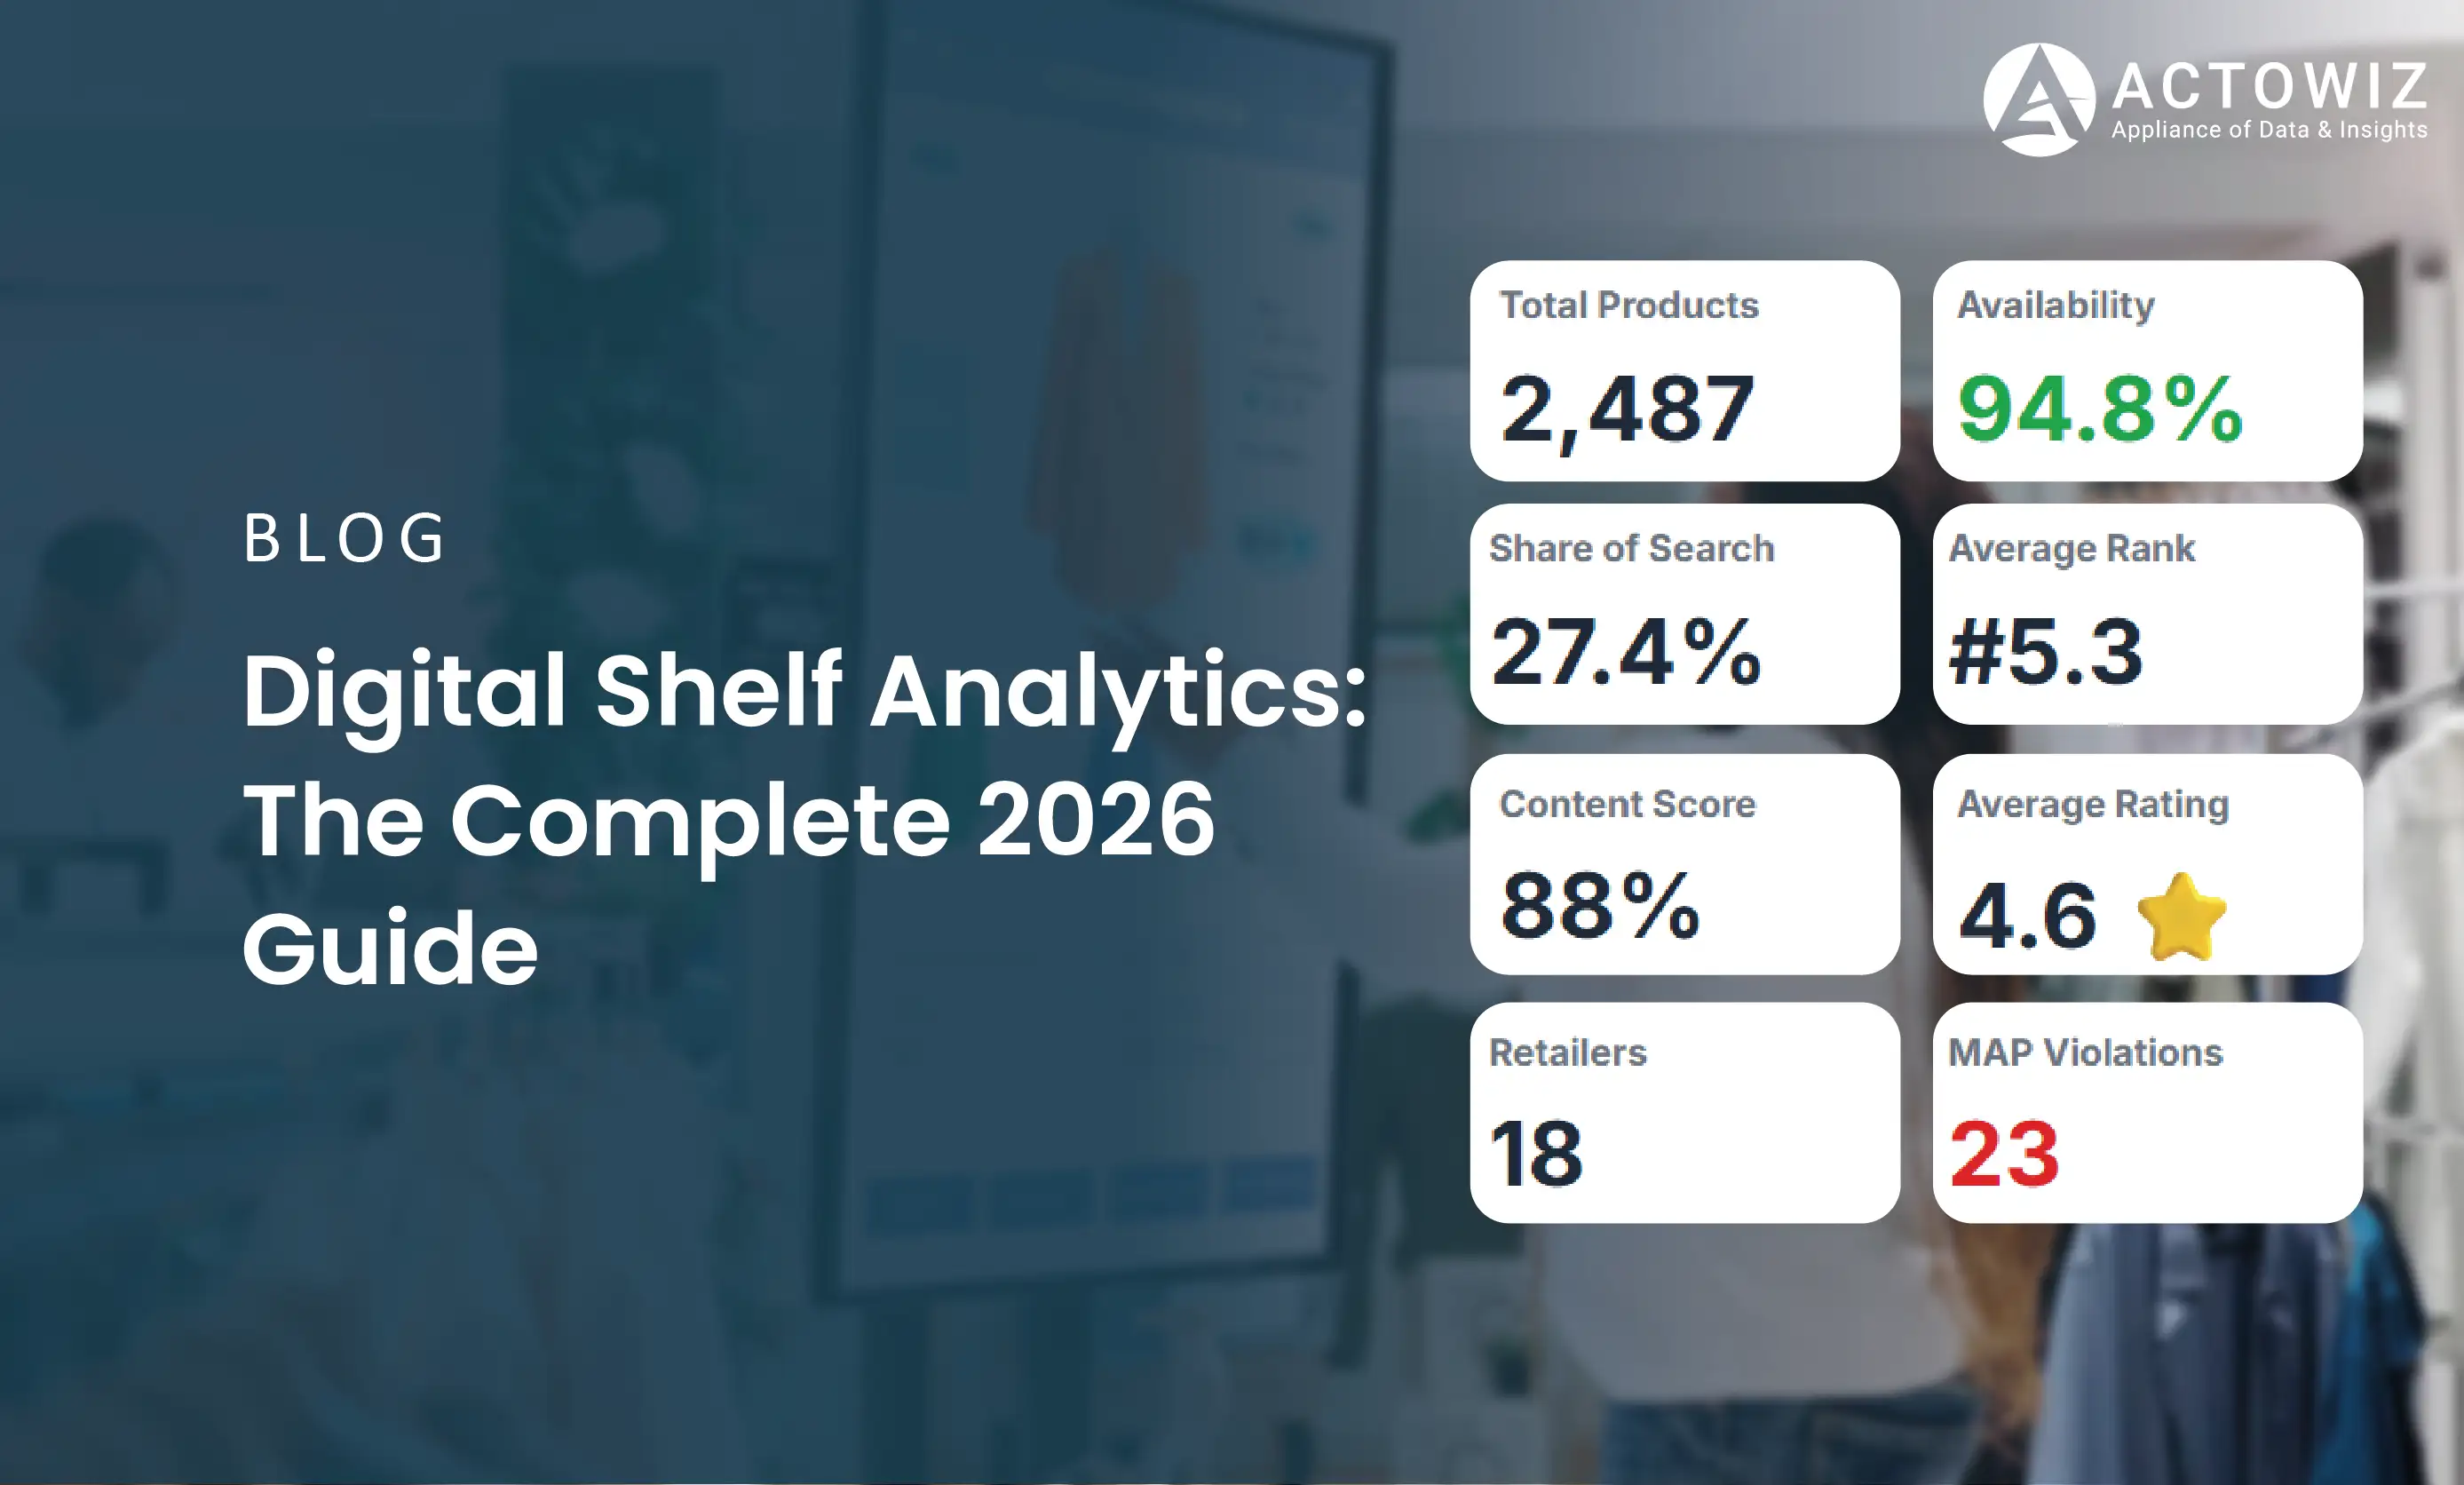
 Digital Shelf Analytics
 MAP Monitoring HOT
 Cross-Border Price Parity NEW
 Share of Search
 Review Sentiment
 Kitchen Market Gaps NEW
 Dynamic Pricing / AI Repricing NEW
 Promotions & Deals Alerts NEW
 B2B / POI & Lead Data NEW
 By Region🇮🇳 India 🇺🇸 USA 🇦🇪 Middle East 🇬🇧 UK 🇦🇺 Australia 🌏 SE Asia 🇪🇺 Europe 🌎 LATAMIndia
 Flipkart Real-Time Insights
 Quick Commerce — Zepto · Blinkit
 Pincode Price Tracker
USA
Pincode Price Tracker
USA Grocery Price Tracker (U.S.)
Digital Shelf Analytics
Middle East
Grocery Price Tracker (U.S.)
Digital Shelf Analytics
Middle East GCC Q-Commerce — Talabat · Noon NEW
UK
GCC Q-Commerce — Talabat · Noon NEW
UK Grocery Price — Tesco · Sainsbury's · Asda NEW
Australia
Grocery Price — Tesco · Sainsbury's · Asda NEW
Australia Grocery Price — Coles · Woolworths NEW
Want THIS view for your brand · your city · your category? Custom dashboard in 7 days. Free Consultation →
Grocery Price — Coles · Woolworths NEW
Want THIS view for your brand · your city · your category? Custom dashboard in 7 days. Free Consultation → -
32DatasetsDailyUpdatesUSAmazon Datasets #1 Walmart Datasets Target Datasets NEW Shopify Datasets HOT TikTok Shop HOT Costco / Best Buy NEW Etsy / Temu NEW DoorDash / Instacart NEW Zillow / Realtor Indeed / Glassdoor / LinedInUK & EuropeTesco / Sainsbury's NEW Ocado / Deliveroo NEW Zalando / Otto NEW Cdiscount / Carrefour NEW Allegro NEW Booking / AirbnbIndia & Middle EastFlipkart / Meesho NEW Blinkit / Zepto Zomato / Swiggy BigBasket / JioMart NEW Myntra / Nykaa NEW Noon / Amazon.ae NEW Talabat / Careem NEW🌍 Global & MoreShopee / Lazada NEW Mercado Libre NEW Rakuten / Coupang NEW eBay AU / Woolworths NEW Netflix / Prime Video Google Maps / Yelp AI Training HOT Cross-Border NEW
-
28Tools2SDKsAmazon (Global) #1 Walmart Scraper Target Scraper NEW Shopify Scraper HOT eBay Scraper Flipkart Scraper Shopee Scraper NEW Noon Scraper NEW Mercado Libre NEW Google Maps HOT
 Marketplace Scrapers
Amazon API TikTok Shop API HOT Uber Eats API Airbnb API Zepto / Blinkit API Instacart API NEW Talabat API NEW
Marketplace Scrapers
Amazon API TikTok Shop API HOT Uber Eats API Airbnb API Zepto / Blinkit API Instacart API NEW Talabat API NEW Data APIsWeb Extract API Reviews API SERP API Pricing Webhook NEW
 Universal APIsLive Crawler API Scheduler Realtime Alerts Webhook Delivery 🐍 Python SDK 💚 Node.js SDK
 Delivery & SDKs
Ready to integrate?
Start Free Trial -
Blog Case Studies HOT Whitepapers Research & Reports Competitor Template NEW
 Knowledge Center
Digital Shelf Playbook MAP Compliance Guide Pricing Intel Guide Scraping Compliance TikTok Shop Guide NEW Cross-Border Guide NEW
Knowledge Center
Digital Shelf Playbook MAP Compliance Guide Pricing Intel Guide Scraping Compliance TikTok Shop Guide NEW Cross-Border Guide NEW Guides & Playbooks
Sample Datasets HOT ROI Calculator NEW API Postman Collection Demo Dashboards Free API Playground NEW Press Kit
Guides & Playbooks
Sample Datasets HOT ROI Calculator NEW API Postman Collection Demo Dashboards Free API Playground NEW Press Kit Downloads & Tools
Trust Center About Us FAQs Careers
Downloads & Tools
Trust Center About Us FAQs Careers Trust & Company
 - Contact US
 Grocery & FMCG
 Finance & Legal
 Healthcare & Pharma
 Media & Entertainment
 Emerging Industries
Enterprise Data Extraction
Scalable web, app & AI-powered extraction. 99.9% accuracy.
All Services → Core Scraping Services
Top Global Platforms
Pricing & Promotions
Brand & Intelligence
Digital Shelf & Search
Assortment For RetailersWhich solution fits?
Talk to ExpertGCC Quick Commerce
Talabat · Careem Quik · Noon Minutes — live pricing across Dubai, Riyadh, Abu Dhabi & Jeddah. 18 GCC cities.
Launch Demo →KitchenIntel
Cloud kitchen market gaps, ghost-kitchen tracking & strategy simulator. Plans from ₹9,999/mo.
See Pricing →UK Grocery Price Tracker
Tesco · Sainsbury's · Asda · Morrisons · Aldi — daily price comparison across all major UK grocers.
Get Early Access → E-Commerce Dashboard
Flipkart Insights (Live) #1
Grocery Intelligence
Grocery Price (U.S.)
Quick Commerce (India) HOT
Food & Restaurant
Fashion Intelligence
Automotive
Travel & Hospitality
Real Estate
Food Delivery Intelligence NEW
OTT & Streaming NEW
By Use Case
Pricing Intelligence
Digital Shelf Analytics
MAP Monitoring HOT
Cross-Border Price Parity NEW
Share of Search
Review Sentiment
Kitchen Market Gaps NEW
Dynamic Pricing / AI Repricing NEW
Promotions & Deals Alerts NEW
B2B / POI & Lead Data NEW
By Region Flipkart Real-Time Insights
Quick Commerce — Zepto · Blinkit
Pincode Price Tracker
Digital Shelf Analytics
GCC Q-Commerce — Talabat · Noon NEW
Grocery Price — Tesco · Sainsbury's · Asda NEW
Grocery Price — Coles · Woolworths NEW
Marketplace Scrapers
Data APIs Universal APIs Delivery & SDKsReady to integrate?
Start Free Trial Knowledge Center
Guides & Playbooks
Downloads & Tools
Trust & Company